
 |
| Brine soaked, oven roasted turkey (1) |
Well, ladies and gents, I'm here to tell you that this is not your worst nightmare. Indeed, it is your Lucky Day! Hooray for leftovers and especially for leftover turkey! Rejoice, because you are about to make ... BROTH!
Making and canning turkey broth is very simple, and better yet, takes up no refrigerator or freezer space at all. It does require a pressure canner, though, so if you don't have one then you'll need to squeeze the broth into the freezer after all. However, if you can beg, borrow or steal a pressure canner for just a few hours, you can make this, put it on your pantry shelf, and have a ton of home-made broth ready for any occasion.
I'm going to be making our turkey (on Saturday, not today, because we like to celebrate Thankfulness by being damn thankful we're not stuffing turkey butt at 6am LOL) in a Westinghouse roaster, but this recipe translates just as well to a regular roasting pan in the oven. The major difference is that if you're using a regular roasting pan, then you'll need to scrape the leftover contents of it into a large stock pot, whereas with the Westinghouse, you just continue right on without doing any extra dishes (there's that thankfulness again!).
 |
| Bacon wrapped turkey (2) |
All that jellied stuff in the bottom of the pan, all the drippings left over from making gravy, all the bones and the whole carcass can be slid right back into your Westinghouse, or alternatively into a large stock pot. If it doesn't fit, hack it into pieces that will. You don't need pretty or neat, here; just make it fit. You'll be straining it later anyhow.
You can add many of your leftovers to the broth, if you like. Any onions and carrots (provided they're not candied) can be tossed in, as well as leftover gravy, green beans (so long as they're not in a cream sauce), cabbage, parsnips, and other root vegetables. Avoid potatoes, both sweet and regular, as they tend to make the broth a bit gritty sometimes. Fill the pot or Westinghouse with water, add a teaspoon each of salt, pepper, paprika, oregano and thyme, and then set the broth to simmering.
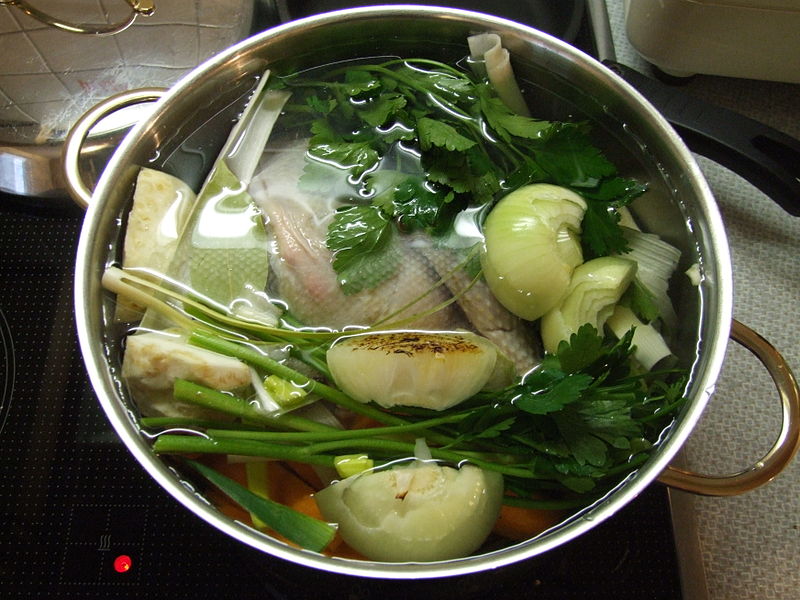 |
| Making soup (3) |
During the later part of the cooking process, take a few sips of your broth. If it needs something, feel free to add it. Likely requirements will be more salt, and possibly such things as oregano, thyme, bay leaf, rosemary, and other "stuffing" herbs, as well as more onion, garlic, or chives. Don't be afraid to experiment, but use small amounts. Keep good records as you go through this process, because it will streamline the process for next time!
When the broth is done, you need to strain it. Line a colander with cheesecloth (or an old tee shirt or towel if you don't have cheesecloth) and pour the hot broth into another container (or two, if you're like me and make several gallons worth of broth). Remember to use hot pads and keep your face out of the steam!
The contents of your cheesecloth can be thrown away. At this point they are devoid of nutritional content and you can rest assured that you've plumbed the depths of their vitamins and minerals. The resulting broth, be it clear or cloudy, should be put in a cold place to chill for several hours. It is ready to work on again when the layer of fat on the top is solid and opaque.
Using a wooden spoon, carefully remove the hardened fat from the top of your broth. Depending on your preference, it can be saved in the fridge or freezer for use in other recipes (it's great in place of lard), rendered for use in pie crusts, soaps (it replaces the palm or coconut oil!) or other items, or tossed. There should be very little fat left in the broth when you are done (a bit is just fine).
Re-heat your broth, stir well, and then ladle into hot, sterile jars and process according to the directions for your pressure canner. Generally speaking, you'll want to process it at 15 pounds of pressure for 20 minutes for pints and 25 minutes for quarts. Always check to see if there is a different pressure for your area (if you're above or below sea level, pressure and timing can change dramatically!). Never "wing it" when it comes to pressure canning.
Another option for those little bits of broth that don't quite fill the last jar, is to freeze them in an ice cube tray. Each ice cube tray holds about one tablespoon of liquid. Once your broth cubes are frozen, store in a ziploc style baggie, and pull out anytime you only need a couple of tablespoons of broth. This way, you don't waste an entire jar opening it for such a little bit!
Check back often for information on canning, preserving, general homesteading and more. If you have questions or comments, please write to me below. I love to answer questions! You can follow the blog via Network Blogs and Google Friend Connect (see the left hand column for the button). If you purchase items I have linked through Amazon or the ads on my site, I receive an affiliate portion of the sale. If you find the items are useful, please purchase from my site!
You may also be interested in:
Protein - it's good for you!
Creamy Potato Soup
Prepping 101
Hungarian Cabbage Rolls
Danger, Will Robinson!
1) Photo by TheKohser / Wikimedia Commons
2) Photo by Dennis Crowley / Wikimedia Commons
3) Photo by Claus Ableiter / Wikimedia Commons
No comments:
Post a Comment